Aptana Studio 3 Link Aptana_Studio_3_Setup_3.4.2.exe
Preferred Now. New Version are not Working.
Installation of software
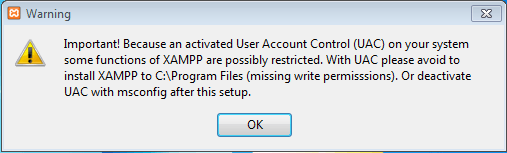
Step 1
Click OK
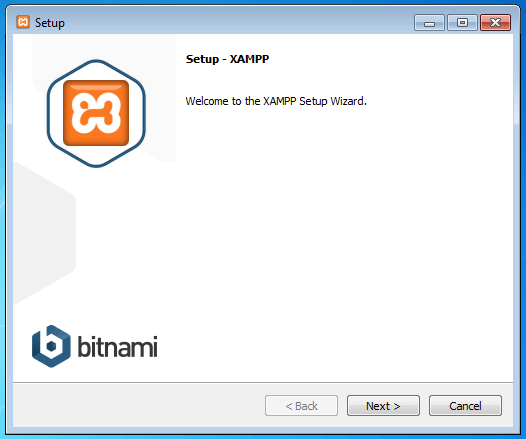
Step 2
Click Next Button.
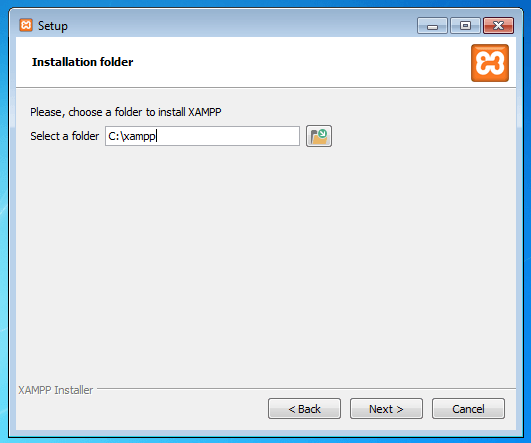
Step 3
Set C:\xampp
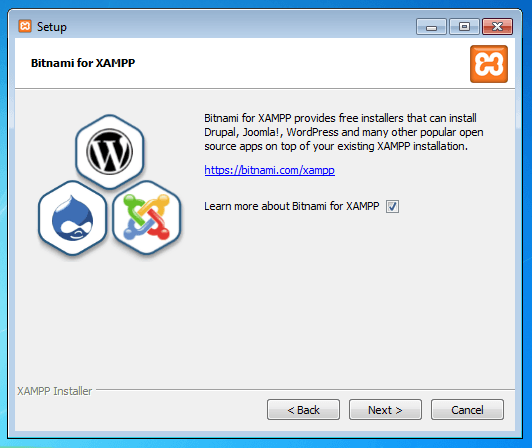
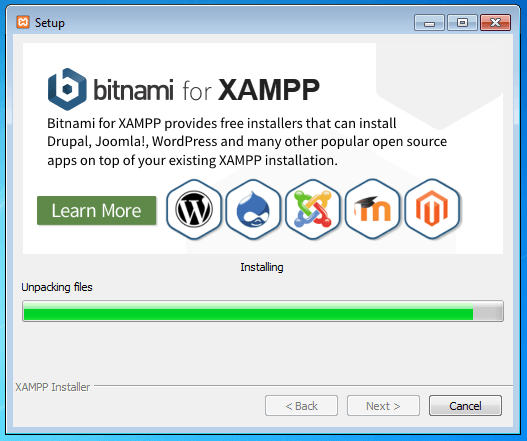
Step 4
A. Learn more about Bitnami for Xamp ( Untick or Tick ) is optional B. Then Next.
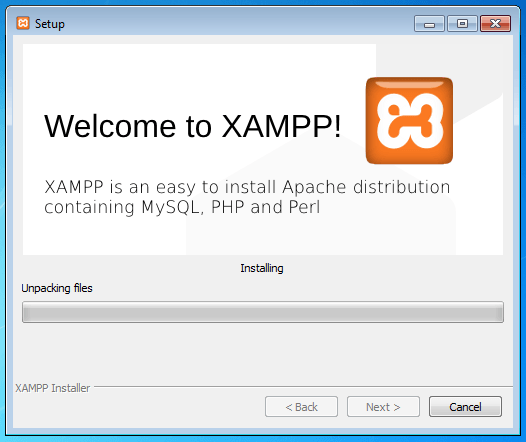
Step 5
Waiting For Install Files
Step 6
Completing Installations
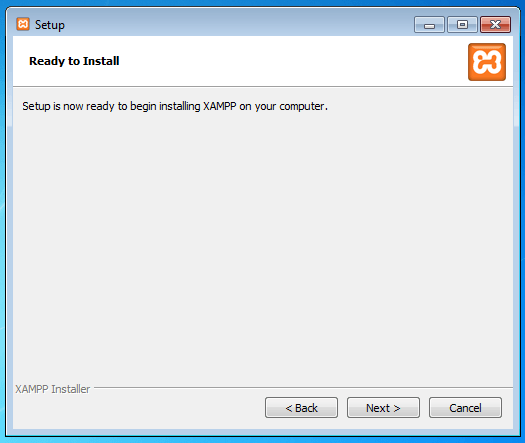
Step 7
Software is Complete is Install now Ready for Use
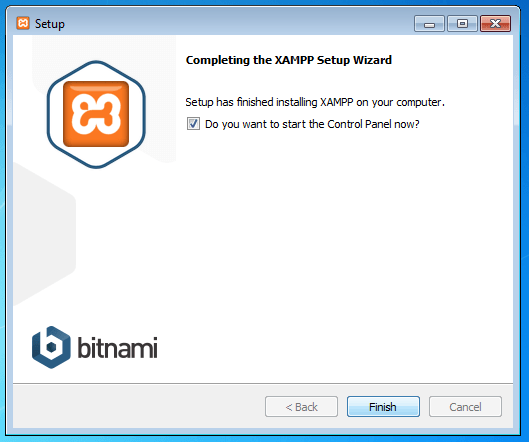
Step 8
Now the option to View Control Panel tick And Click the Finish Button
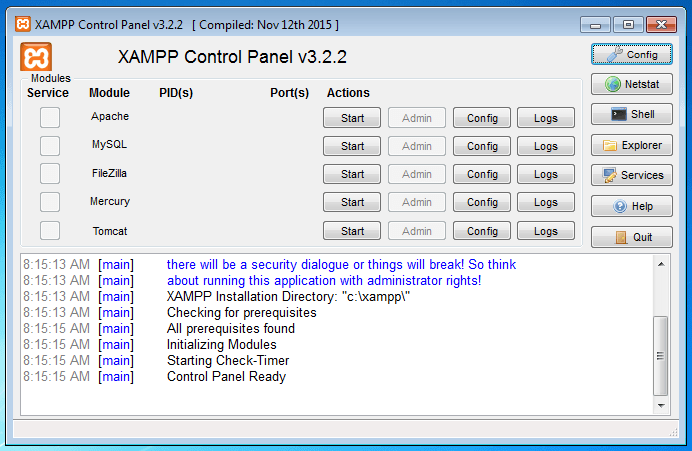
Step 9
Control Panel of Xampp A. Click Apache Front Side Start B. Then Click MySql Front Side Start
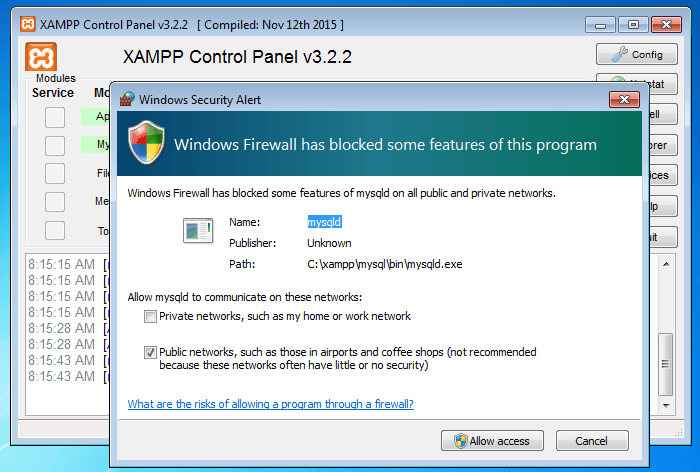
Step 10
Its is MySql Server Request Permission Click allow Access
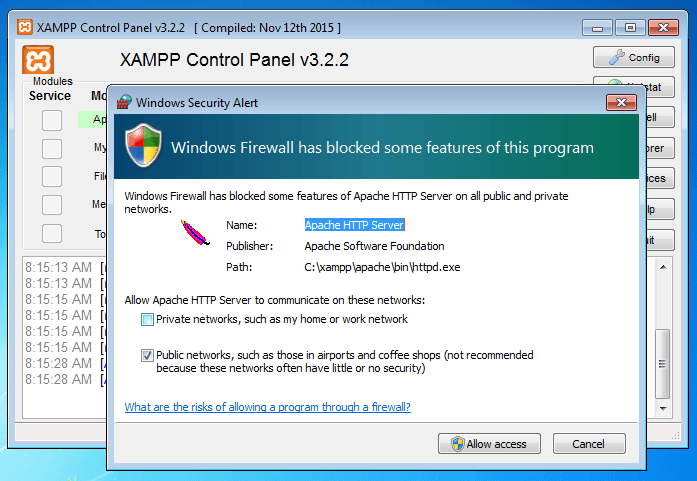
Step 11
Its is Apache Server Permission Allow Permission. Click Allow Access
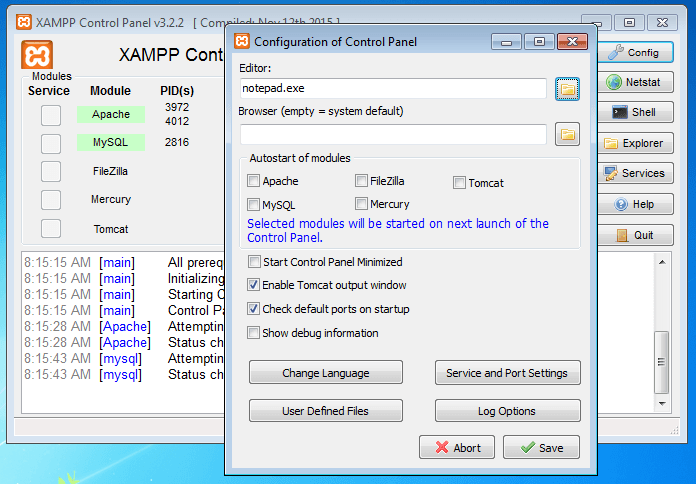
Step 12
For One Click Start Apache And MySql Click Config On Control Panel Click Below AutoStart Modules (Apache For PHP & MySql For Database) and Save
Install IDE for PHP
For Php Code Editing We Aptana Studio 3 For Advance Used. For Basic (Notepad, Notepad ++ ) For basic Learning .
Aptana Studio 3
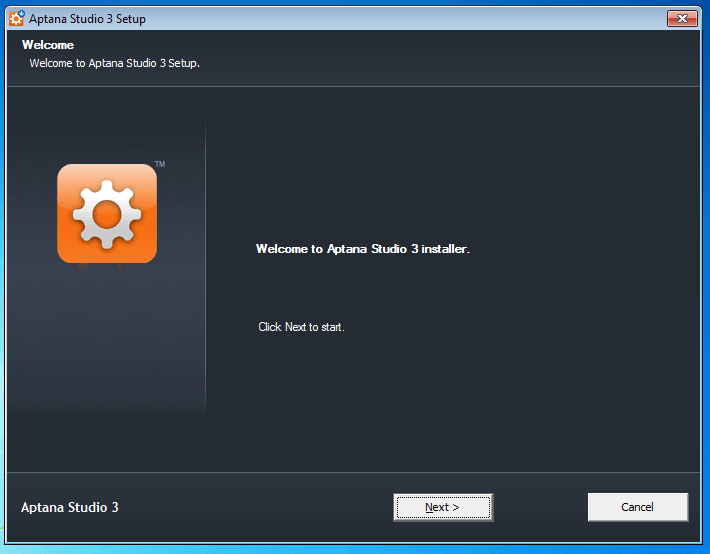
Step 1
Welcome To Installation. Click Next to Start
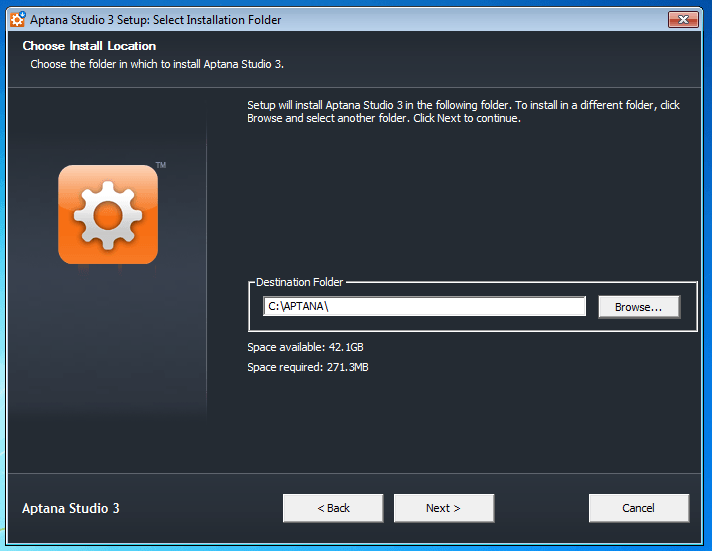
Step 2
Change The By default Folder
Step 3
Set The C:\APTANA\ Folder And Click NEXT
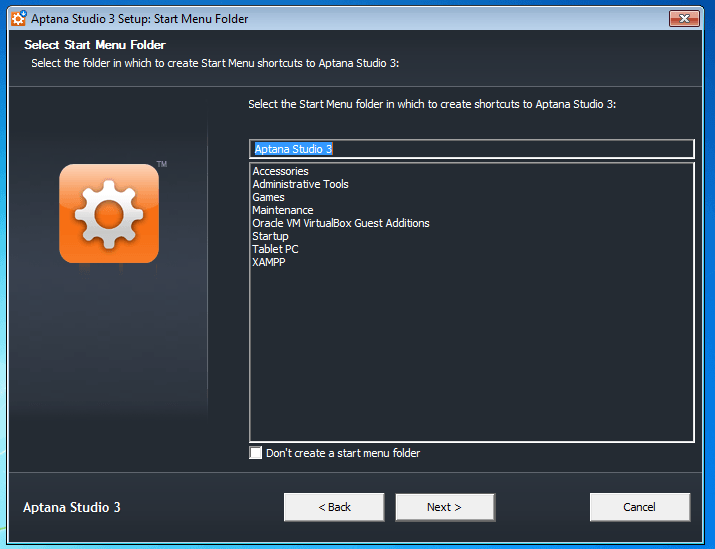
Step 4
Select Start Menu Folder Don’t Change Just Click Next
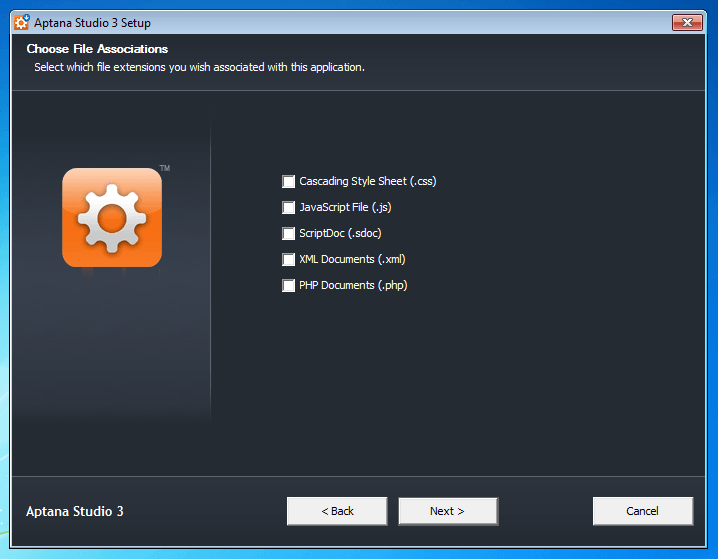
Step 5
Association Files Un-Tick all Files And Click Next
Step 6
Click Install
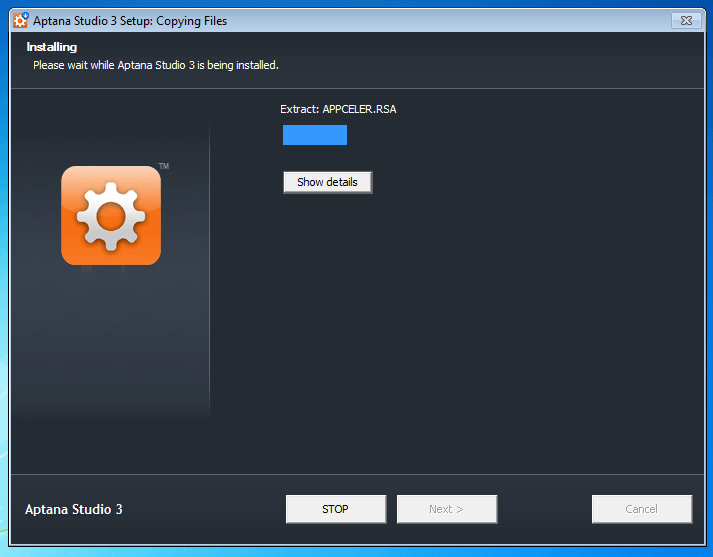
Step 7
Waiting For Install Files
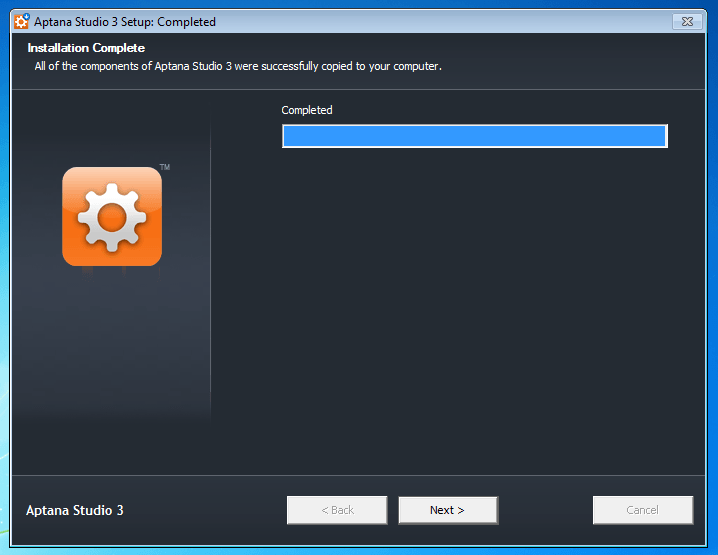
Step 8
After Complete Files Click NEXT Button
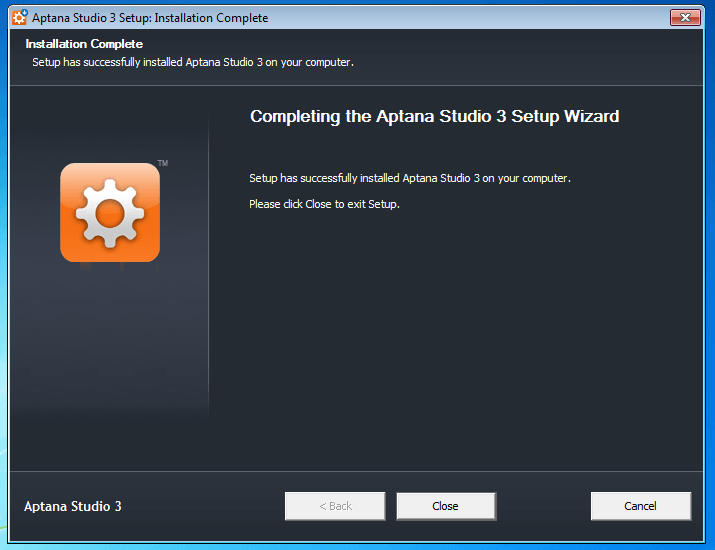
Step 9
Now Click Close Button After Complete
Step 10
Start Aptana Studio 3 From Desktop
START APTANA STUDIO 3 LOGO
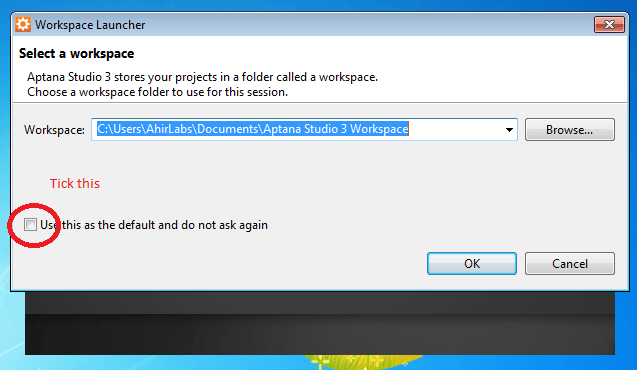
Step 11
SET WorkSpace Tick (Use this as the Default and d not ask again ) Then OK
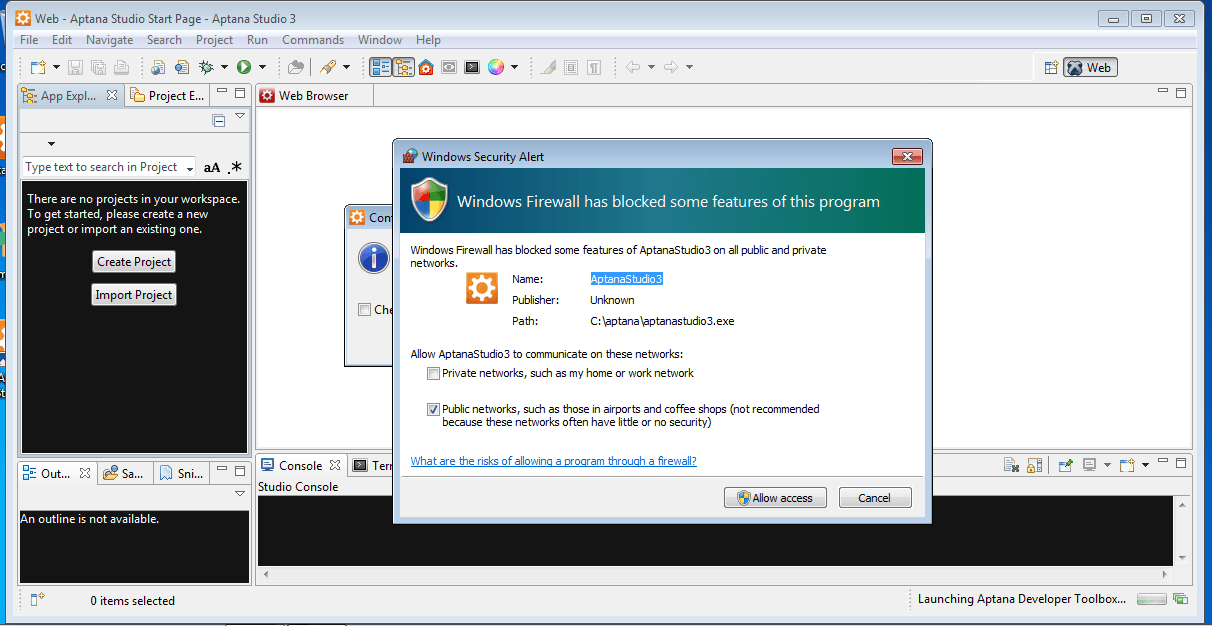
Step 12
Click Allow Permission
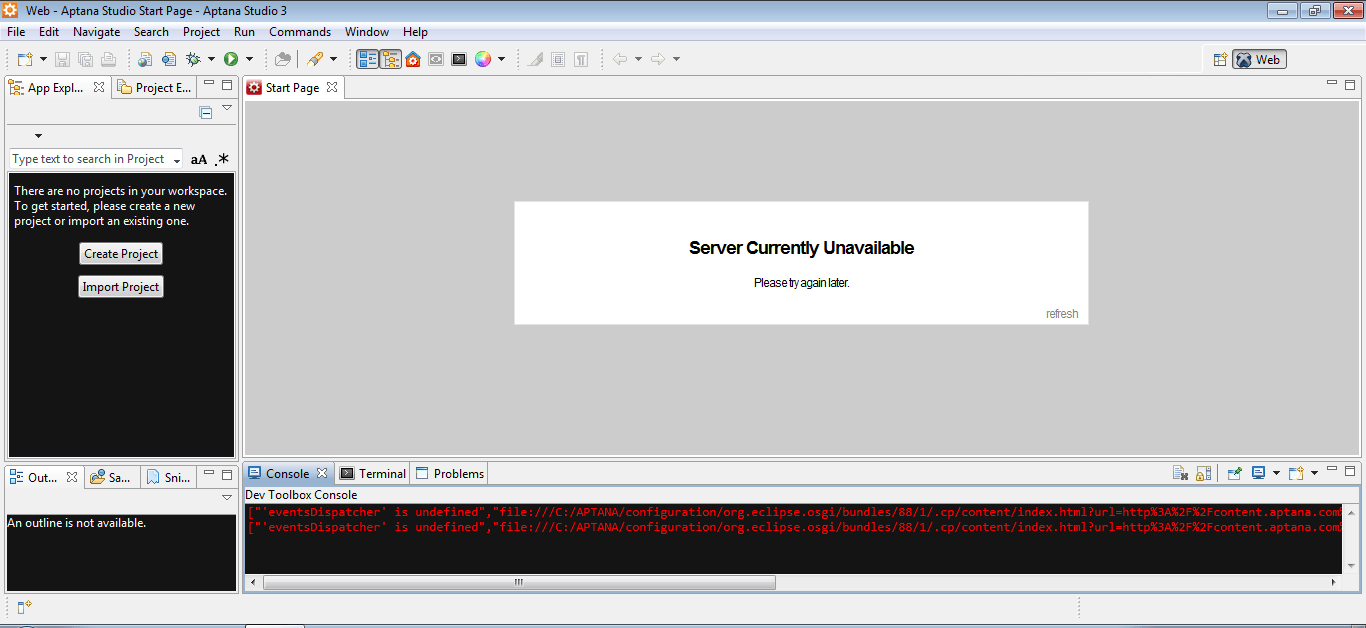
Step 13
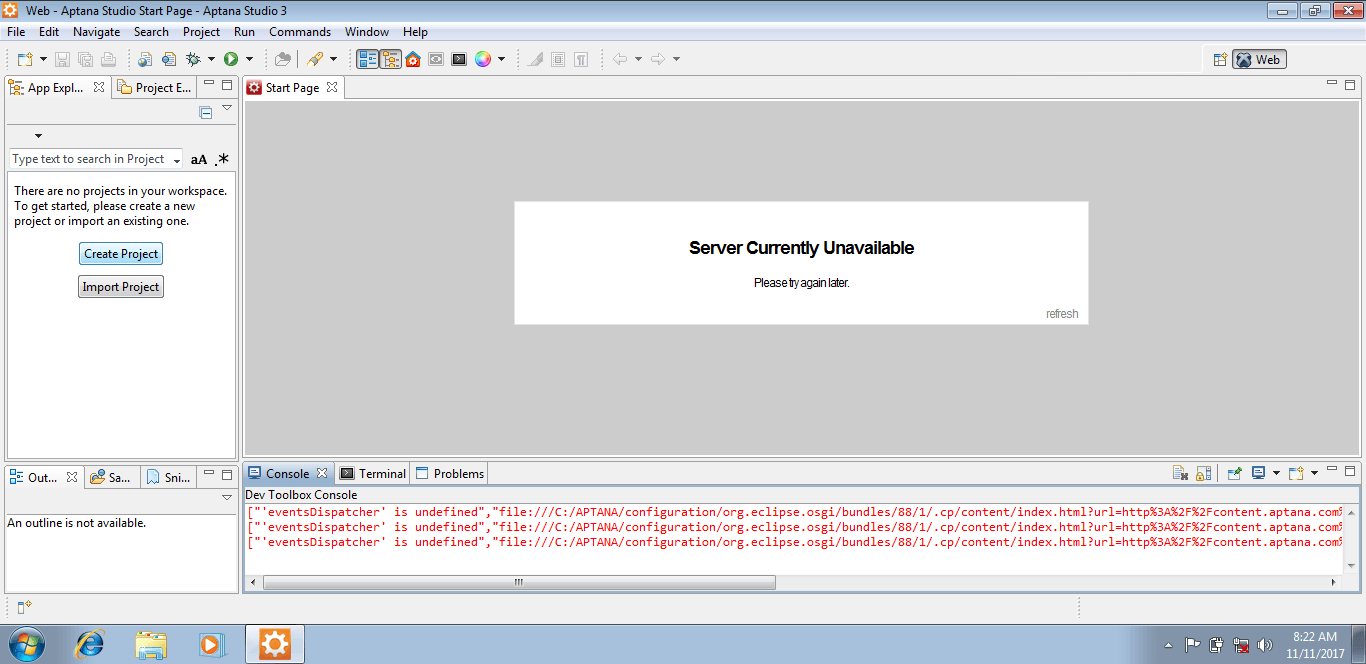
Now The Display The Overall View
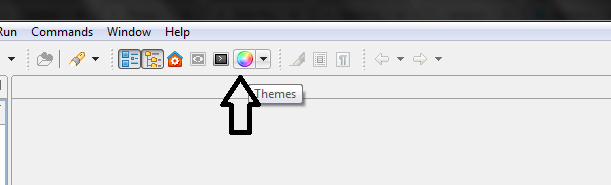
Step 14
Click The Themes
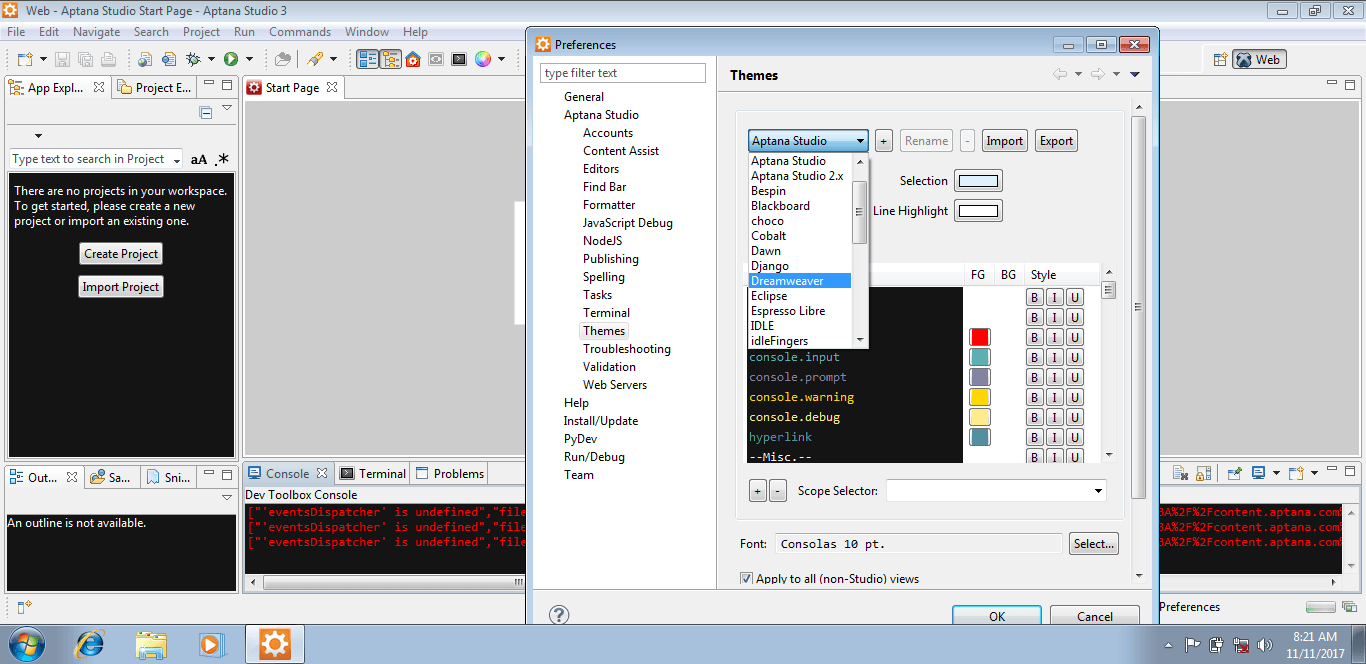
Step 15
Im Used Dreamweaver Theme. You Select As Yours wish.
Step 16
Now Its Change The Theme White
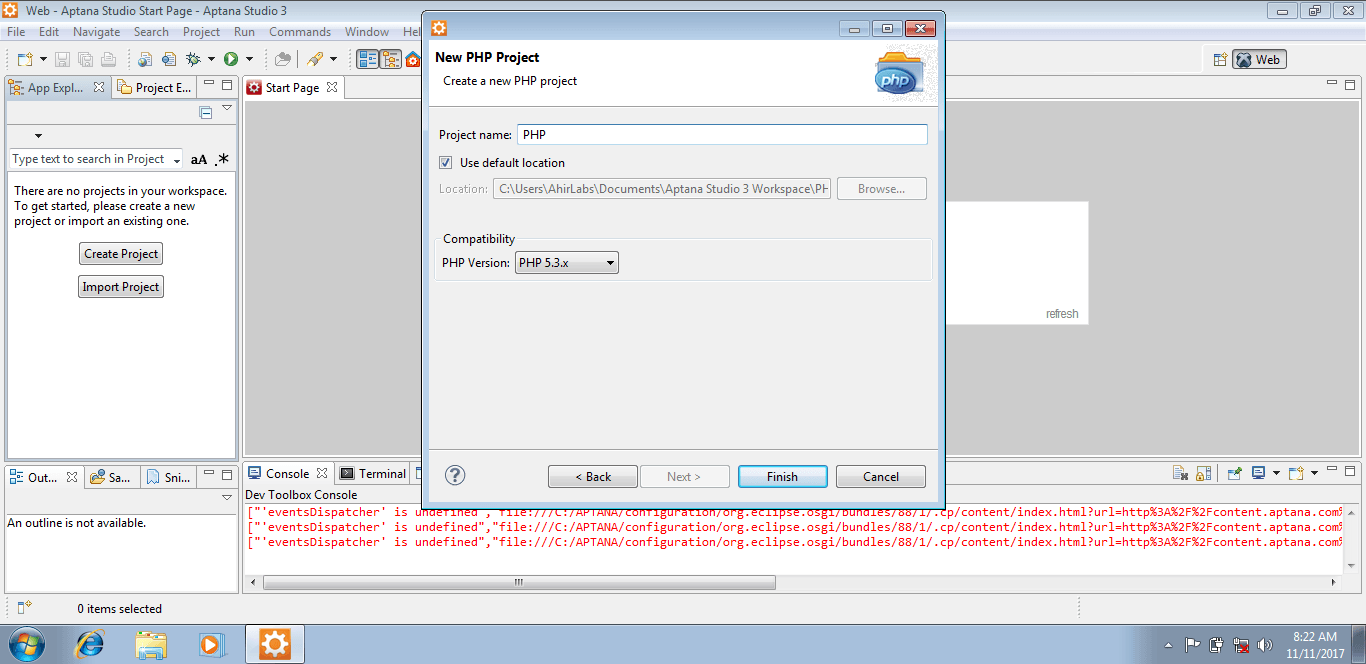
Step 17
Now Click New Project Left Side [SELECT PHP PROJECT]Step 18Name of Project
Step 19
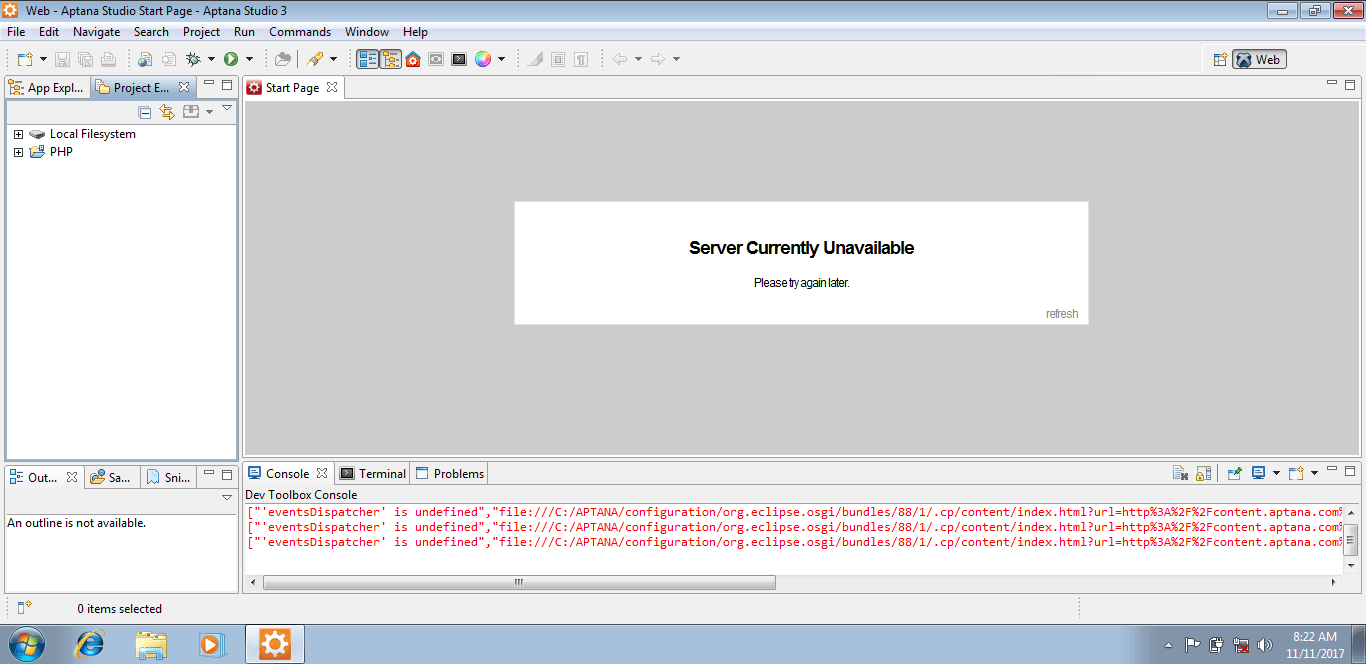
on Left Side App Explorer AND Project Explorer Click and View Project Explorer
Step 20
Here Our PHP Project
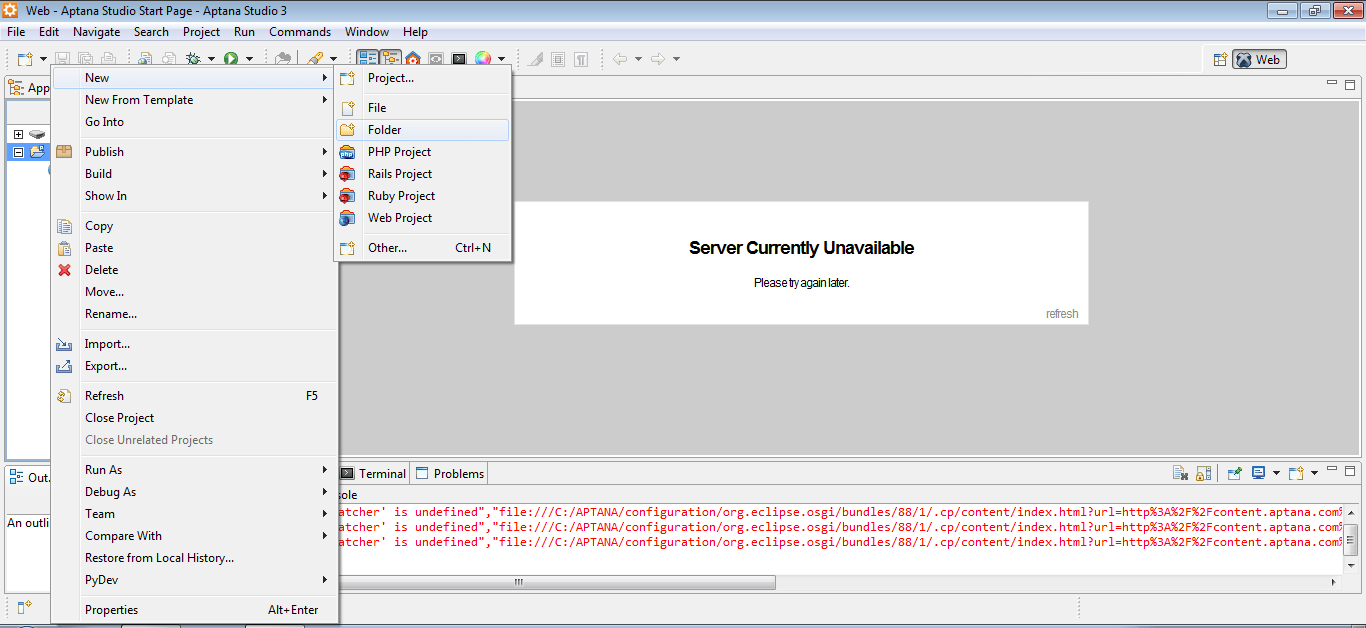
Step 21
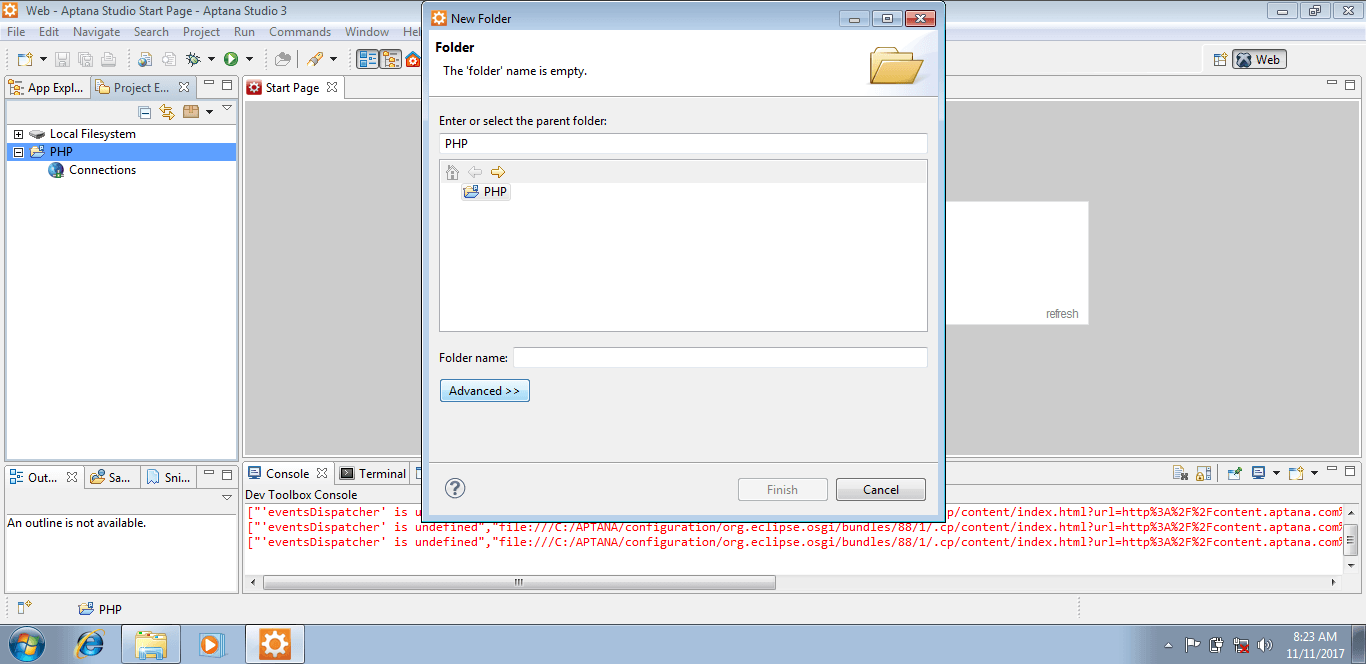
Right Click on PHP Project Then New -> Folder Click
Step 22
Click Advance Button
Open FOLDER => ” C:\xampp\htdocs\ ”
In htdocs Make New Folder Name It (PHP)And Inside Folder Name it (Pro1) For project 1
After ” C:\xampp\htdocs\PHP\Pro1 ”
Step 23
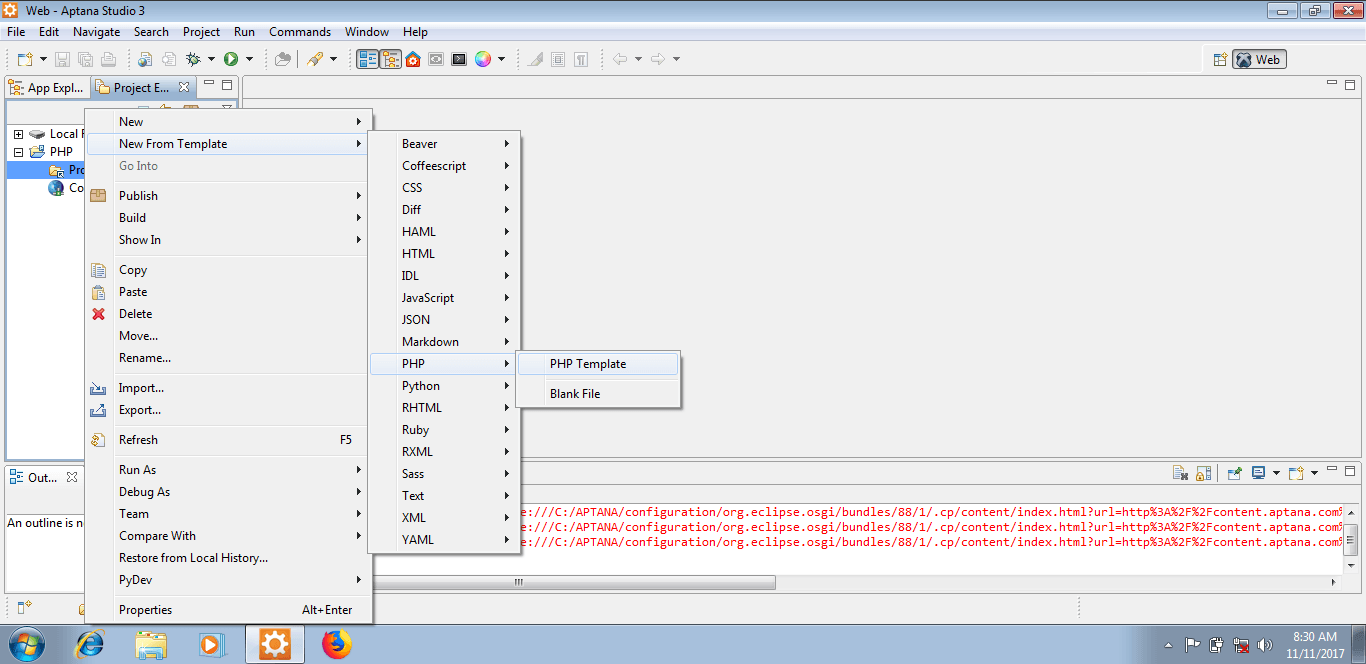
Link To alternate location [Linked Folder] to C:\xampp\htdocs\PHP\Pro1Step 24After Link Folder Right Click on It . New From Template -> PHP ->PHP Template
Step 25
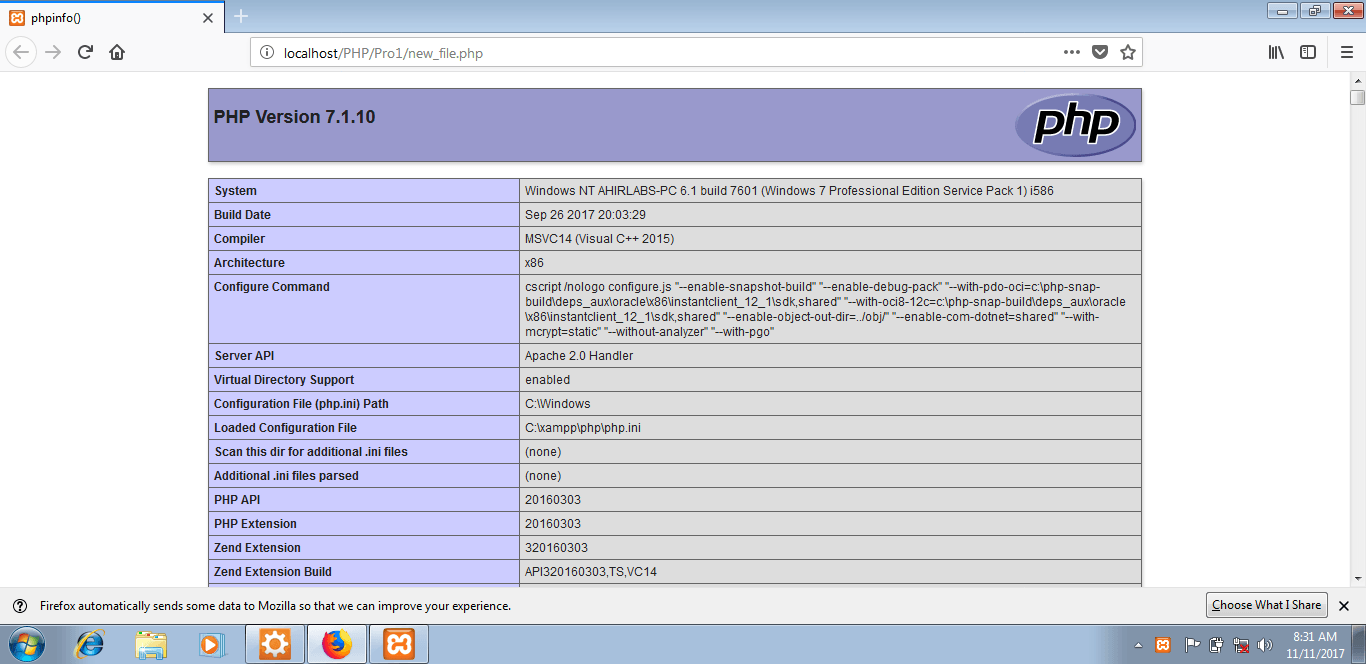
Everything Create,Edit And Delete from This Is fully dependent on this ( C:\xampp\htdocs\PHP\Pro1 ) And It Show All files we added.
After Start XAMPP Apache We discuss in Above . Open Web Browser ( Localhost/PHP/Pro1/new_file.php )
Its Looks like this .
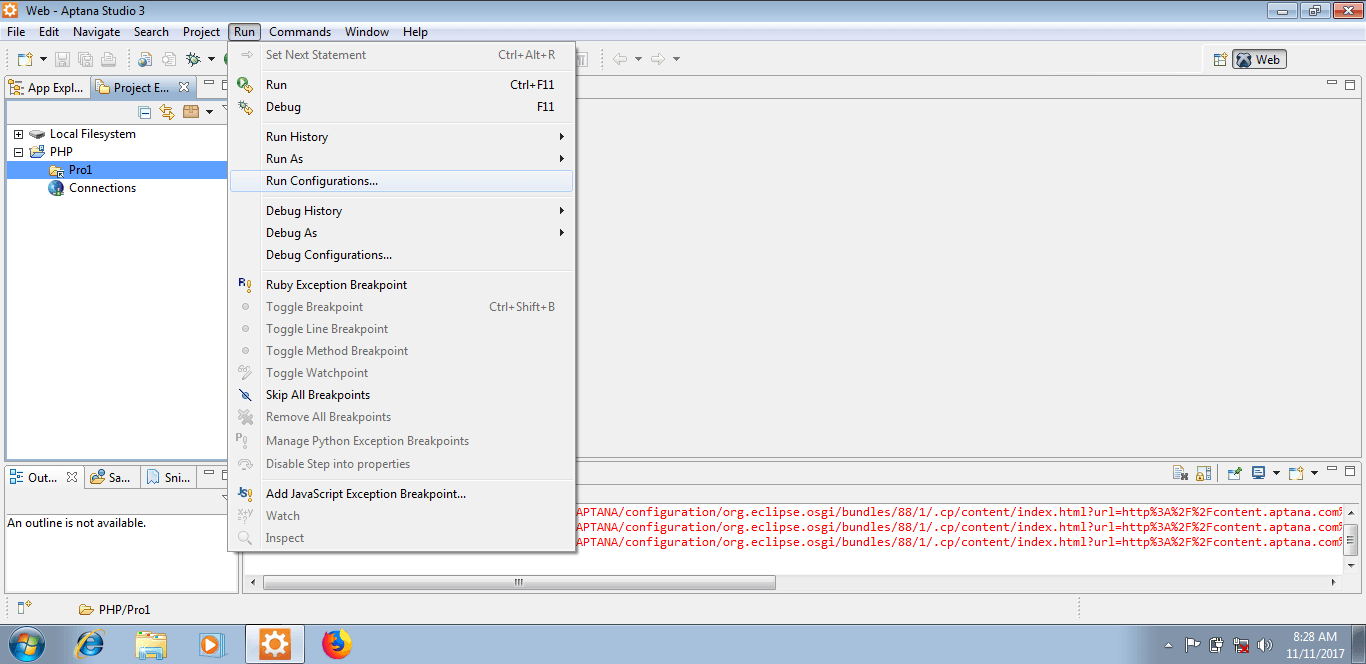
To Avoid typing Every Time to Open this link ( Localhost/PHP/Pro1/new_file.php )
Here Just Run Directly
Step 1
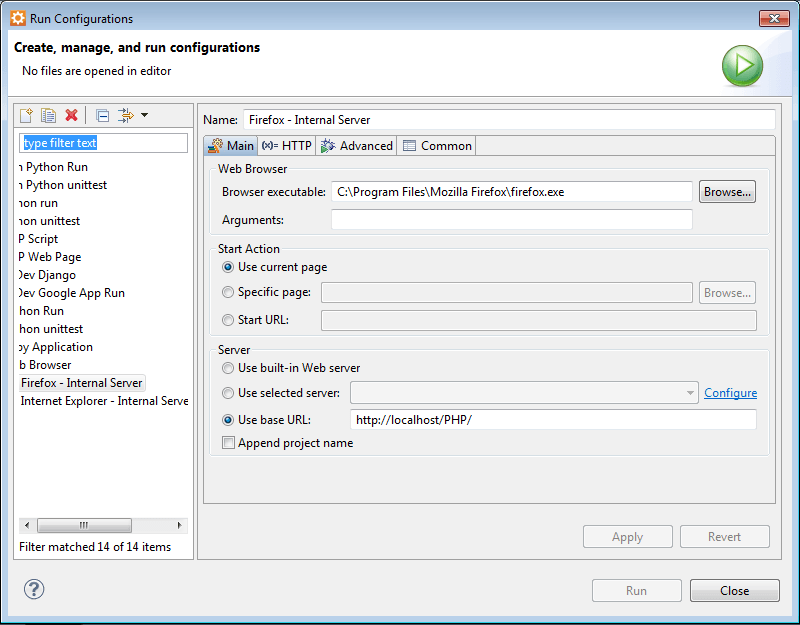
Click the Run -> Run Configration
Step 2
Make Setting as Shown
A. Name of Browser
B. Path of Web Browser
C. Use Base URL “https://localhost/PHP/” We Create folder in ” htdocs ” Its directly open
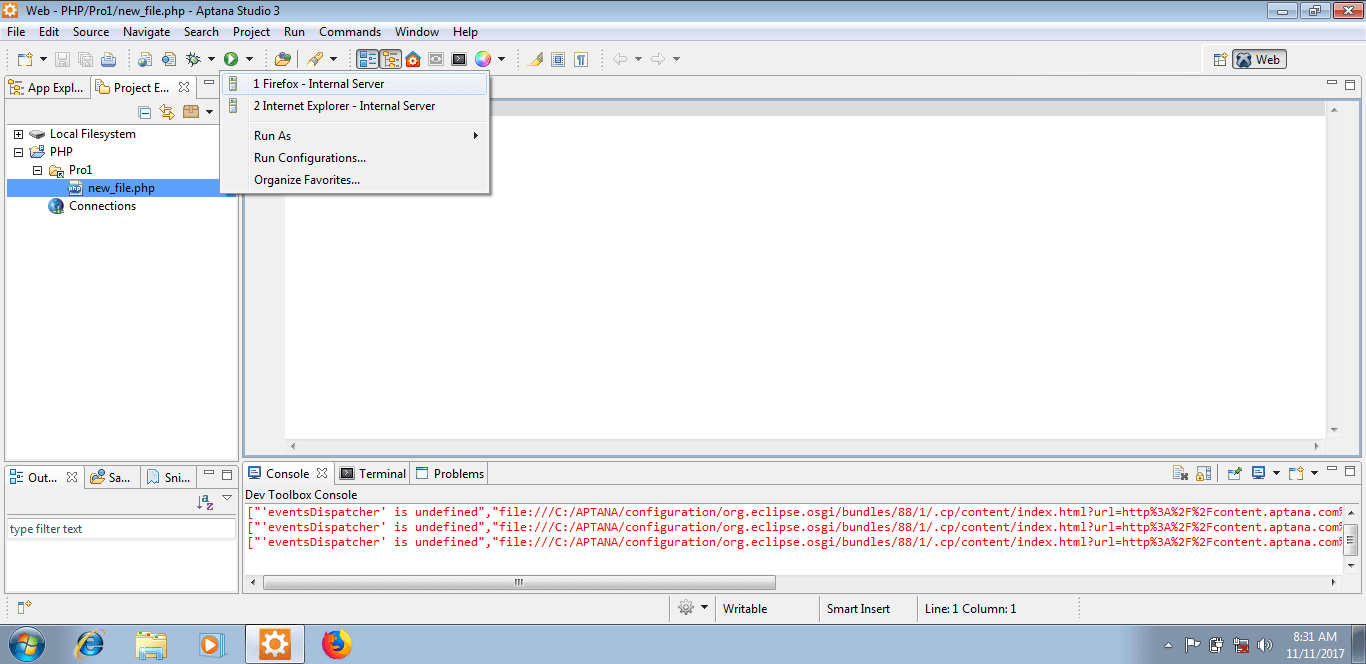
Step 3
Run List below The Browser list we link -> Then click Web Browser
Step 4
Now No need To Retyping Of URL
Thanks Yours To Visit Ours Site. Any Query on this Comment Below:
Hello! Quick question that’s totally off topic. Do you know how to make your site mobile friendly? My website looks weird when viewing from my iphone. I’m trying to find a theme or plugin that might be able to fix this issue.
If you have any recommendations, please share. With thanks!


![Now Click New Project Left Side [SELECT PHP PROJECT]](https://www.ahirlabs.com/wp-content/uploads/2017/11/29.png)

![Link To alternate location [Linked Folder] to C:\xampp\htdocs\PHP\Pro1](https://www.ahirlabs.com/wp-content/uploads/2017/11/39.png)
Hello! Quick question that’s totally off topic.
Do you know how to make your site mobile friendly? My website looks weird when viewing from
my iphone. I’m trying to find a theme or plugin that might be able to fix this issue.
If you have any recommendations, please share.
With thanks!
Get Good Theme if you are using WordPress.Else Get Developer who can make it or Buy Theme.